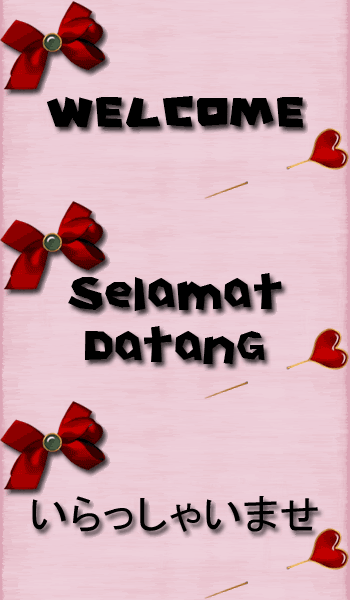
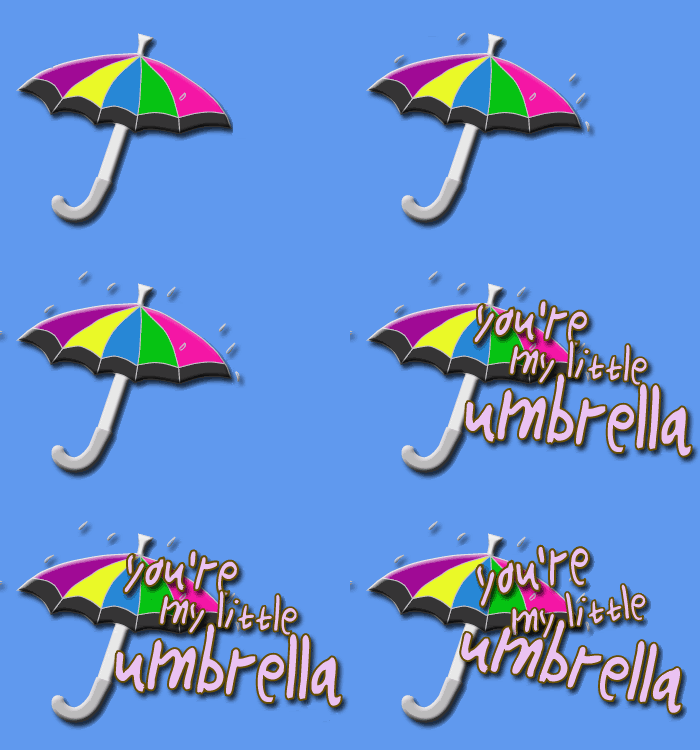
We've had a few people asking us how we do our animated button/images. So here's a short tutorial on how to do this .gif image we have. We use Adobe Photoshop CS4 for this.
So, how do you make animated images or gif images using Adobe Photoshop CS4?
Here’s how:
Step 1: Open a new Photoshop window with these settings. You can adjust the image size accordingly.
Step 2: Set your background to any colour you like or you could use a texture or another image from the internet (please check the terms and conditions before using someone else’s image).
Step 3: Now, paste other images or fonts you want on your button on different layers. We like to use scrapbook images or embellishes from websites like http://www.digiscrapdepot.com/ or http://cufreebiesonly.blogspot.com/
Step 4 : Open the Animation tab by going to Window -> Animation
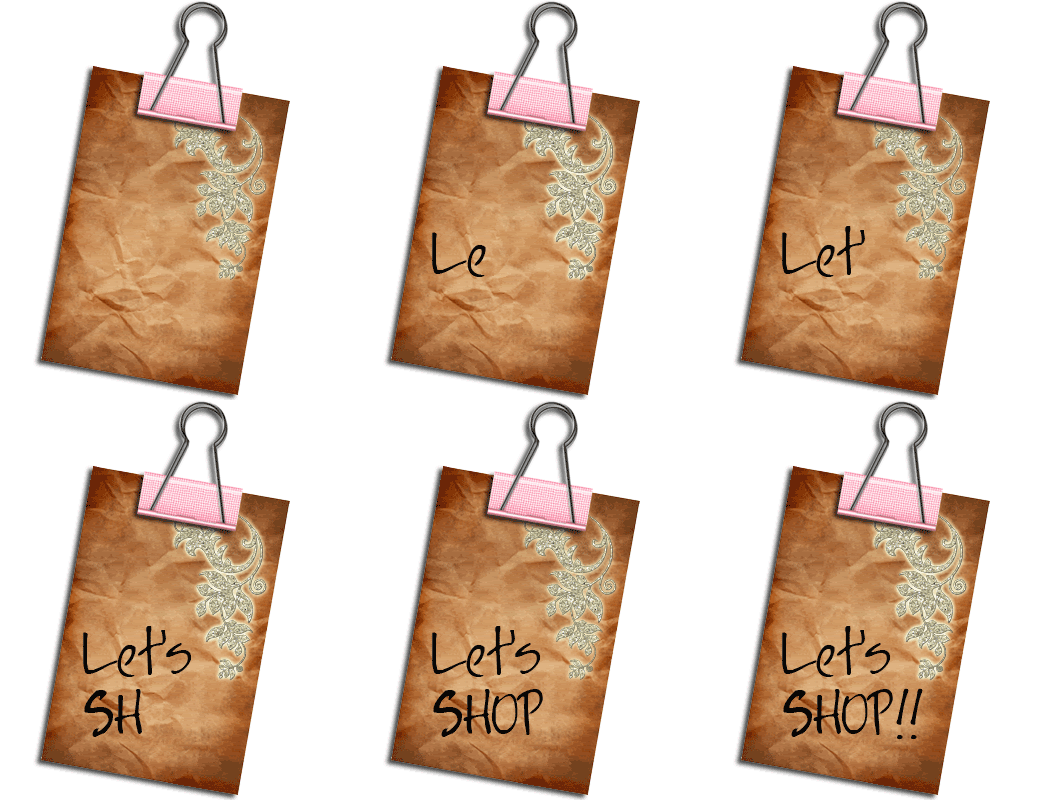
Step 5: Set the number of frames you want then hide or show layers you’d like in each frame. Watch this image below and look carefully at the visible layers in the red box on the right side.
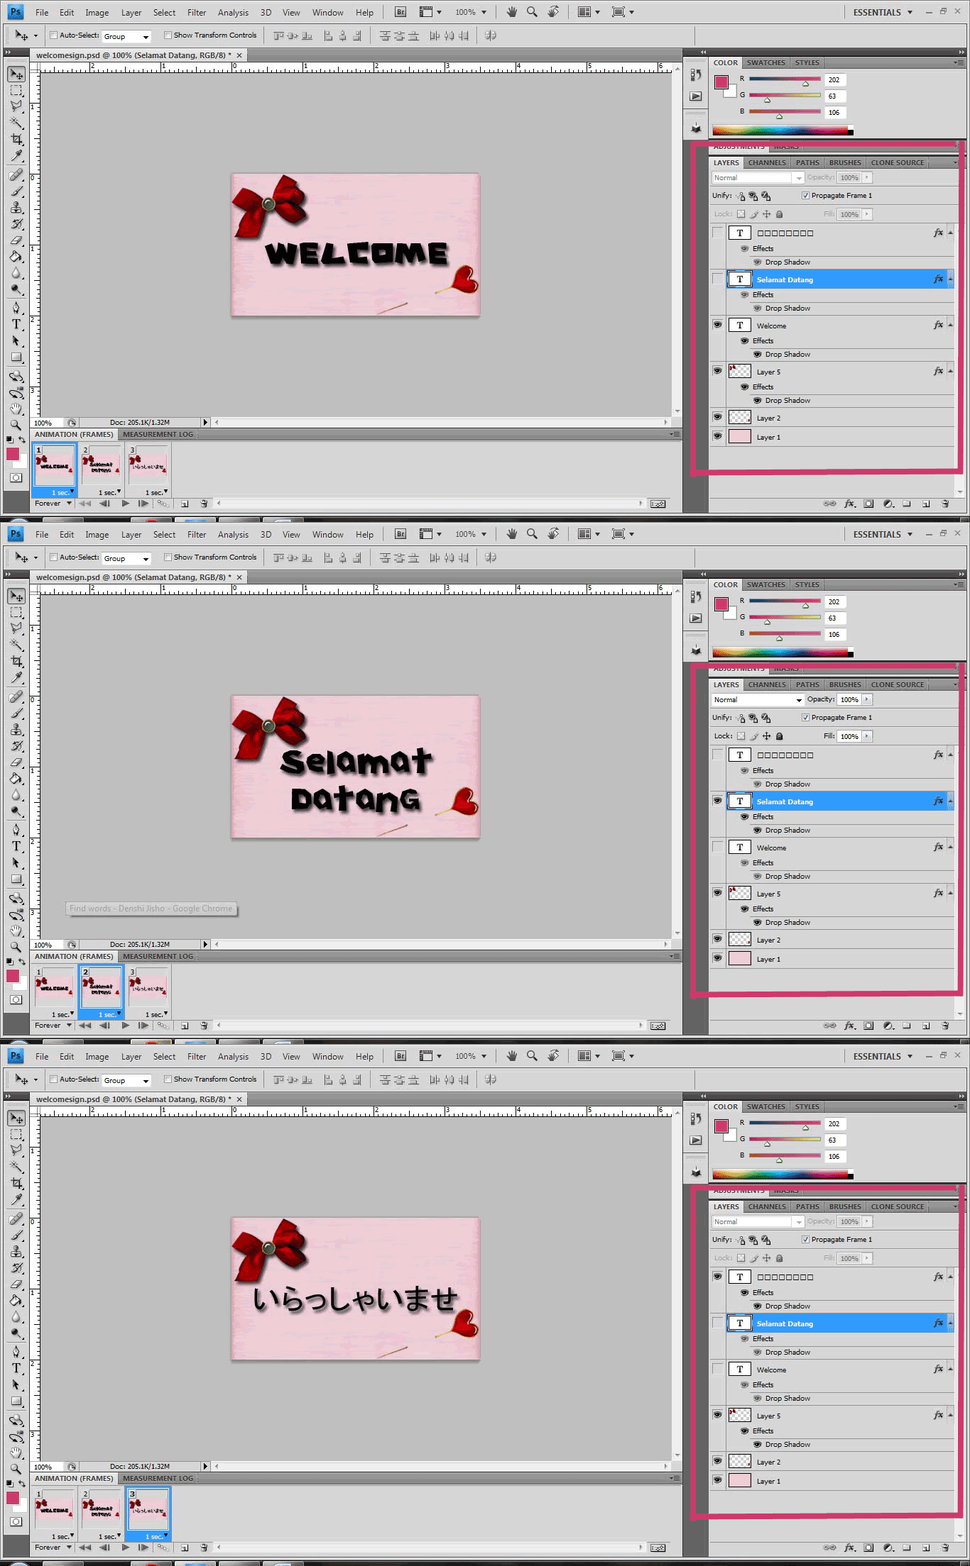
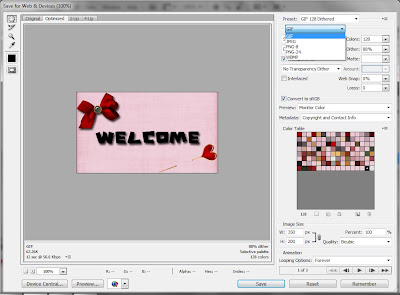
Step 6 : Finally save your image. Go to File ->Save for Web and Devices. Please make sure you select the gif format on the top right menu. And Voila! A nice animated button for your blogshop!
Hope that helped a bit in making your animated image. Post a comment or email us for any questions. Good luck!




































.jpg)


0 freebie crazed fans:
Post a Comment